· 5 min read
5 Step Process to Planning and Building a UI DOM Efficiently with Boxes, BEM and TDD
BEM, TDD, and thoughtful design supercharge web development by streamlining UI DOM planning for maximum efficiency.
I recently had to develop a complex table layout. I had coded it directly without planning, and later, I found a lot of stuff that needed to be included.
For the last two years, I have been working on the backend, so my frontend skills were soft. Then I realized what I used to do. Here is the process I have consistently used to design complex UI with ease.
I later used the process to rebuild my UI from scratch completely. In a very efficient way!
The process involves five steps:
- Copy the Visual Design into drawing software. I prefer presentation software like Google Slides. 🛝
- Draw boxes around all UI components you would like to make.
- While drawing the name the UI component’s CSS using BEM!
- Create a basic component with just HTML DOM! No logic! This should be the look and feel!
- Start doing TDD! This is where logic is written!
BEM and TDD are new additions to my toolkit! That has significantly improved my productivity with UI!
As you’ll see, the goal here is #fastFeedback! If you can re-arrange your approach and thinking before development, you’ll save much time later.
Here are the details, along with examples of how you might think about developing the UI of the Google Home Page.
1. Copy the VDI into a drawing tool like Google Slides
Instead of creating a UI directly on HTML, it’s much better to map out all the UI on paper, wireframe or complete VDI tools like Figma. You want to get early feedback on your UI before you start coding it up so that you won’t have to go back and forth on changes. The later the change is introduced, the costlier it is.
It’s much easier to redraw a box than to rewrite a code.
So, assuming you have a nice UI VDI, which you have validated #earlyFeedback and have confirmed, start by copying it into a tool like Google Slides. You can also use Figma, of course.
Since we are taking an example of building the Google Homepage, below, I have copied a screenshot of the Google Homepage in Webview and Mobile view into Google Sheets.s
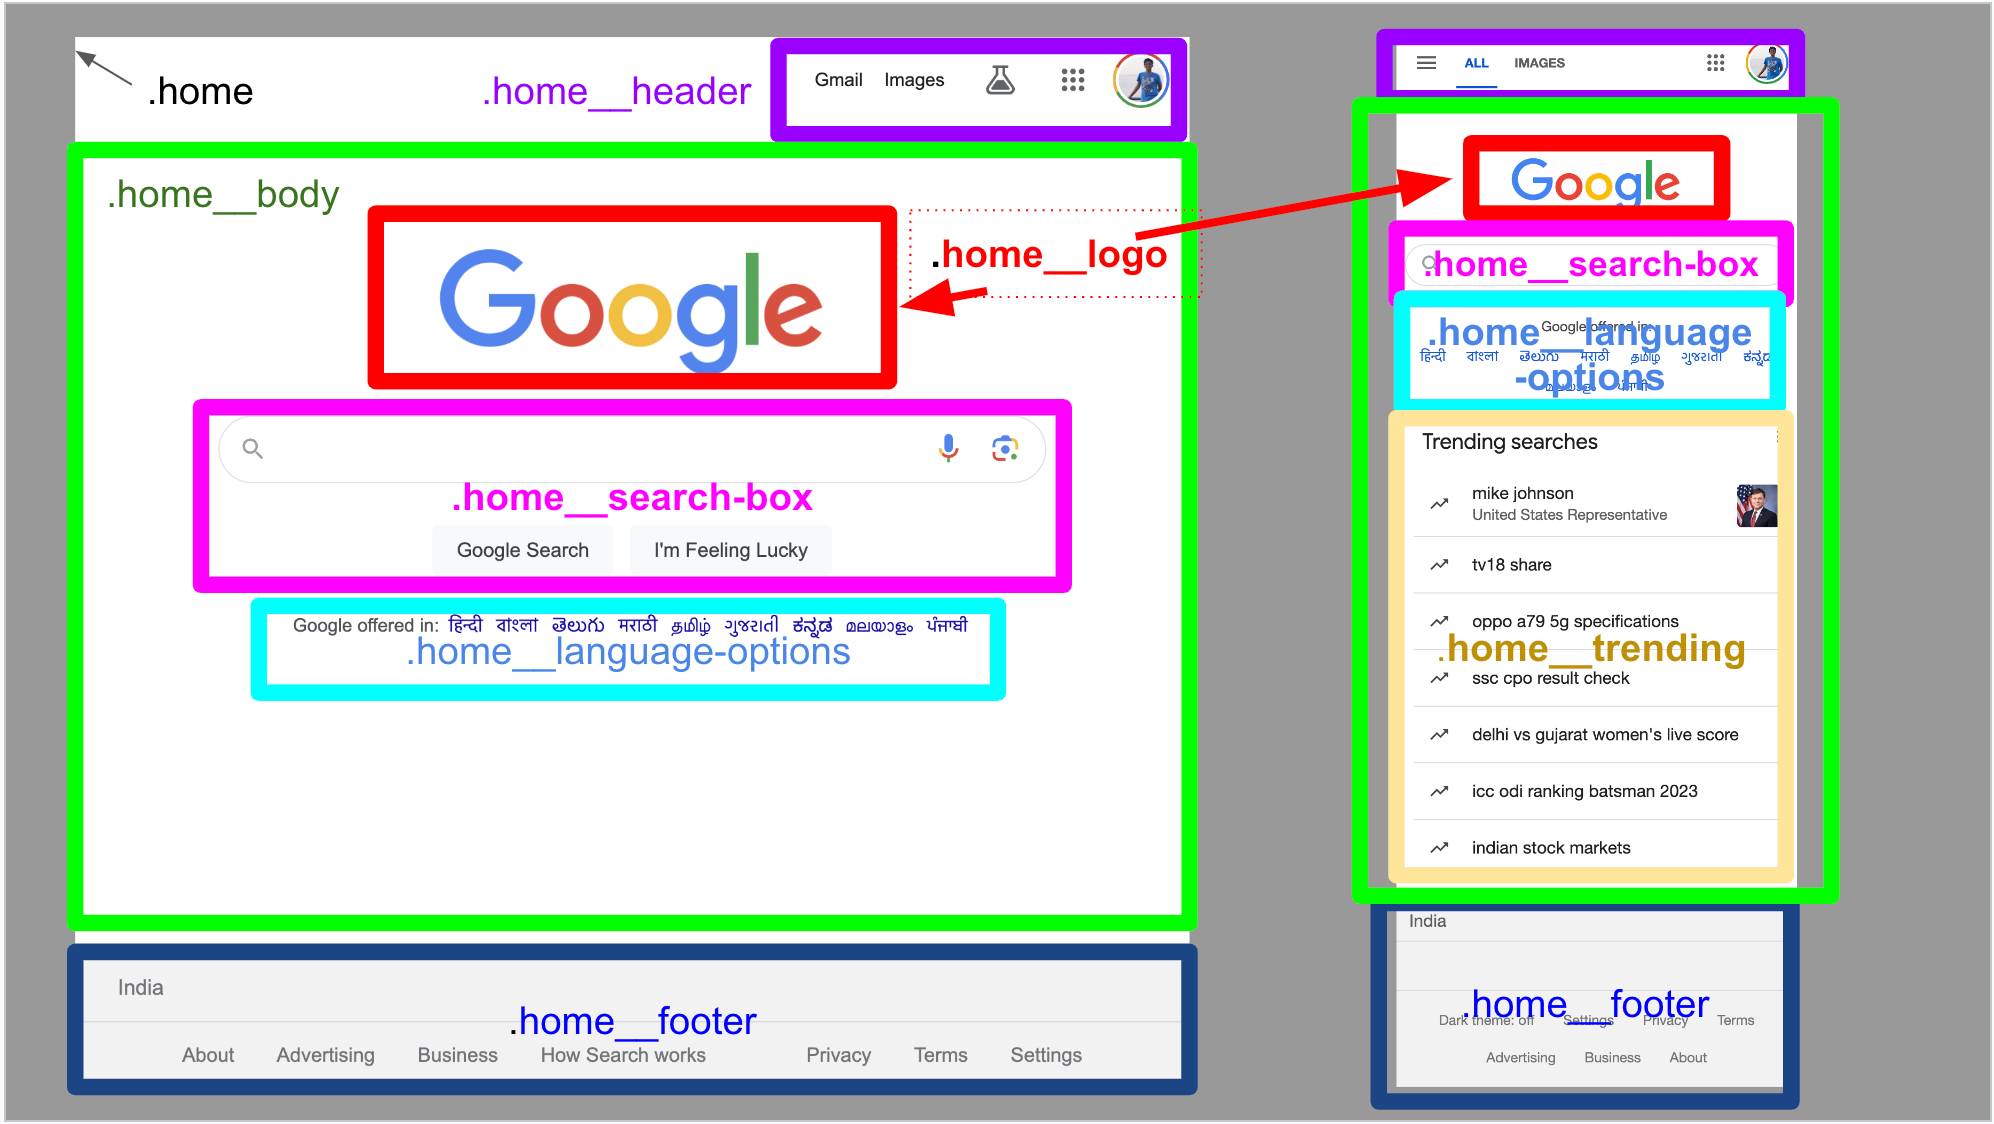
2. Draw boxes around all UI components
I’ll start by drawing boxes around all UI components; this will help give a good idea of what and how things should be in the dom.
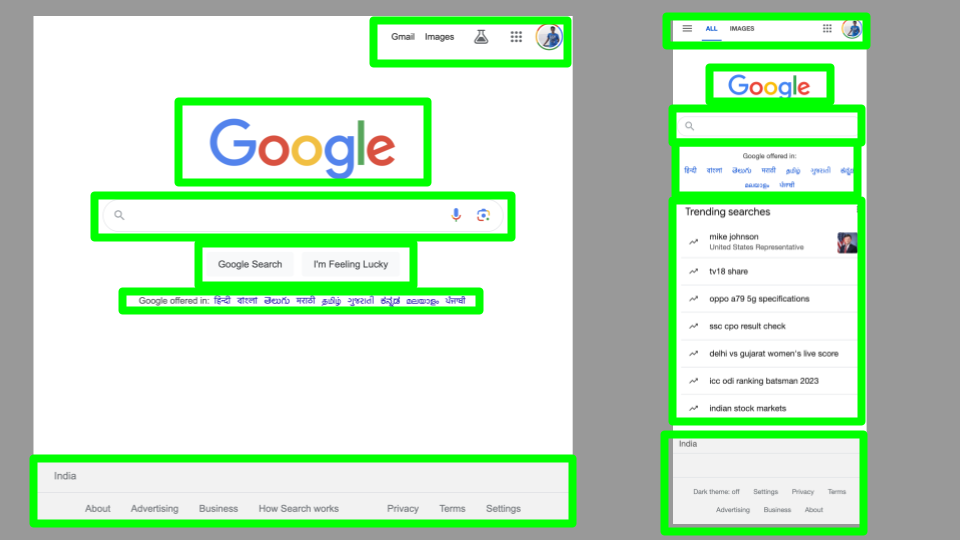
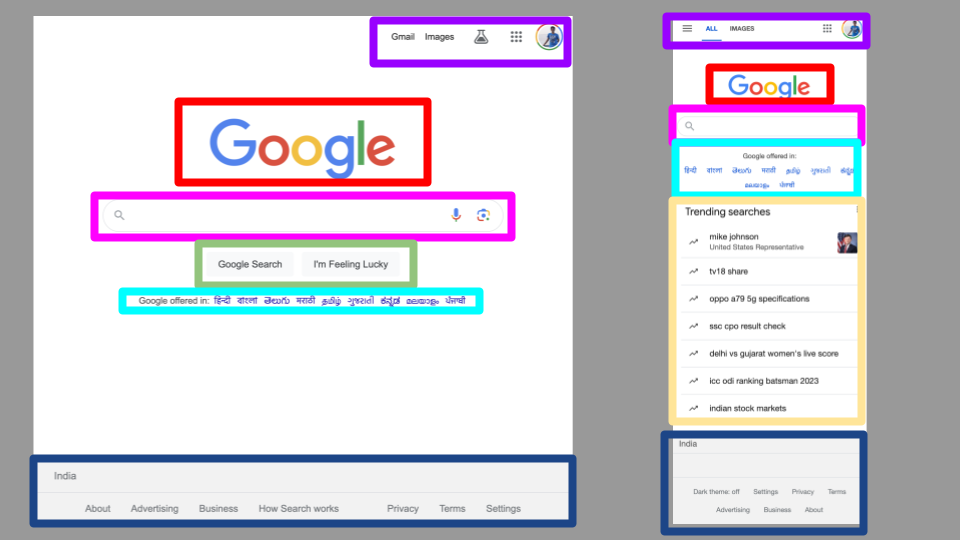
Once I have drawn all the boxes, since both mobile and UI views are open, I’ll colour code the box making it easier to identify their positions in different layouts.
3. Naming each box using BEM
BEM allows us to name out components and use them as CSS. I have used BEM, and it works great. There is a common issue, though, that it can sometimes be too lengthy to name things, but I can live with it happily.
BEM involves a maximum of three parts in naming a CSS class selector.
- Block
- Element
- Modifier
The syntax is like this .{block}__{element}--{modifier}
If {block}, {element} or {modifier} is multiply words, then it can be split by hyphens -.
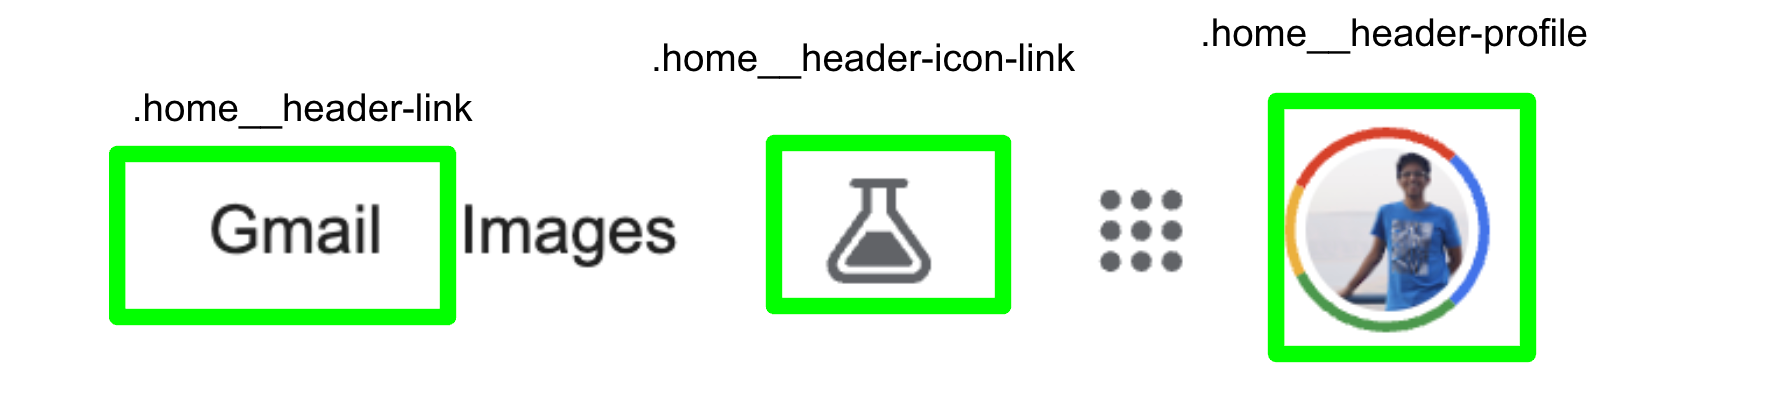
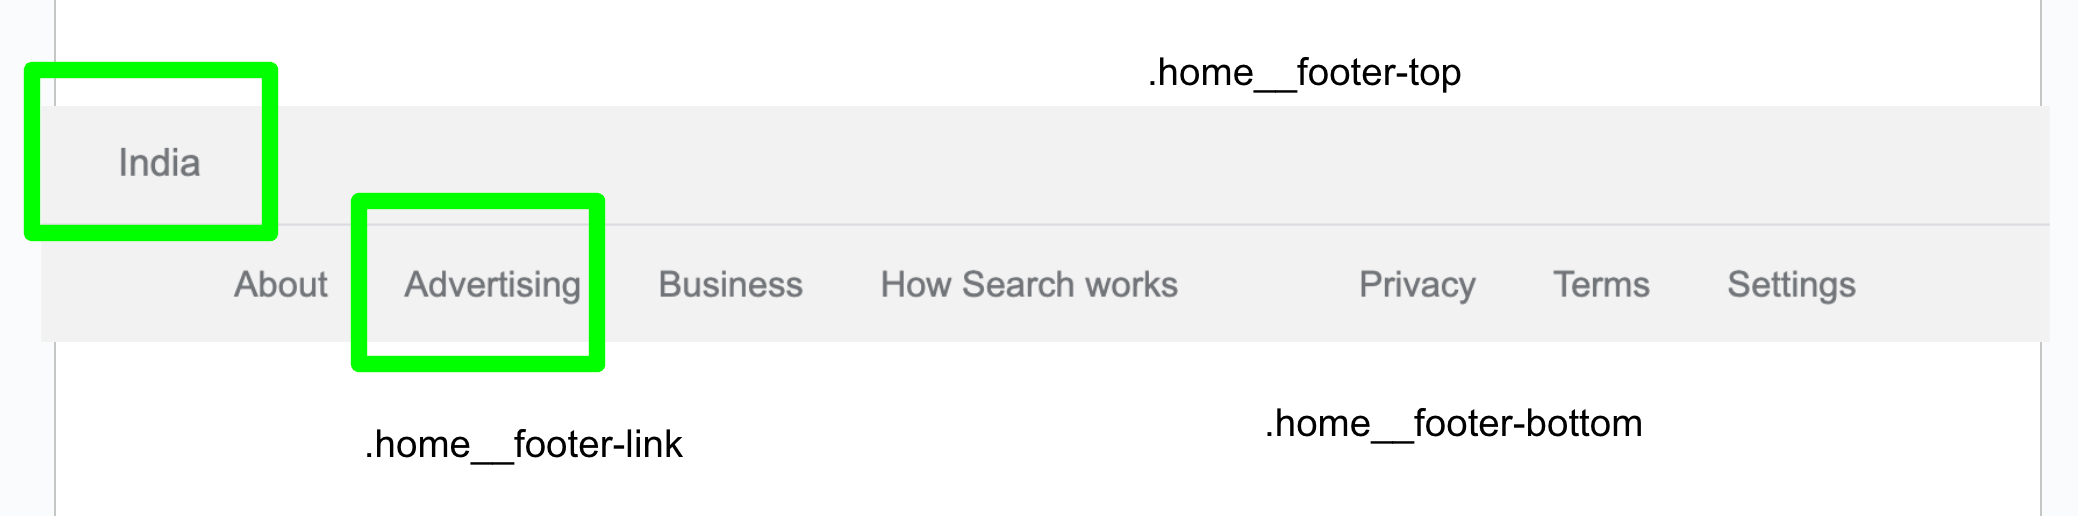
Block is the main functionality; for example, since we are building a homepage, we could name our {block} home.
Elements are parts of the Block. For our home block, we could have {element} 's could belogo,search-box,footer`, etc.
Modifiers are different states of elements. For example, when we clicked on the search-box element, it could show an effect. This can be --clicked modifier.
So, combining all 3, we get the following CSS classes for each component.
.home - main box
home__logo
.home__search-box
.home__search-box--clicked
home__footer
I’ll go ahead and name each component in Google Sheets.
Tip: You can also add the name of the HTML element you will use. For example, I prefer Box in the MUI React Library. So I’d often write Box .home.
4. Create a simple static HTML DOM
Now, I’d create a simple React Project with Static DOM. The structure would proceed from plain to complex, and by the end, you’d see a page that’s closer to what we wanted.
This is a tutorial, so don’t focus, so don’t judge my CSS skills here. 😛. I would spend longer when working on a prod-grade application.
Here’s a video of it. You can freely jump around or follow the guide below.
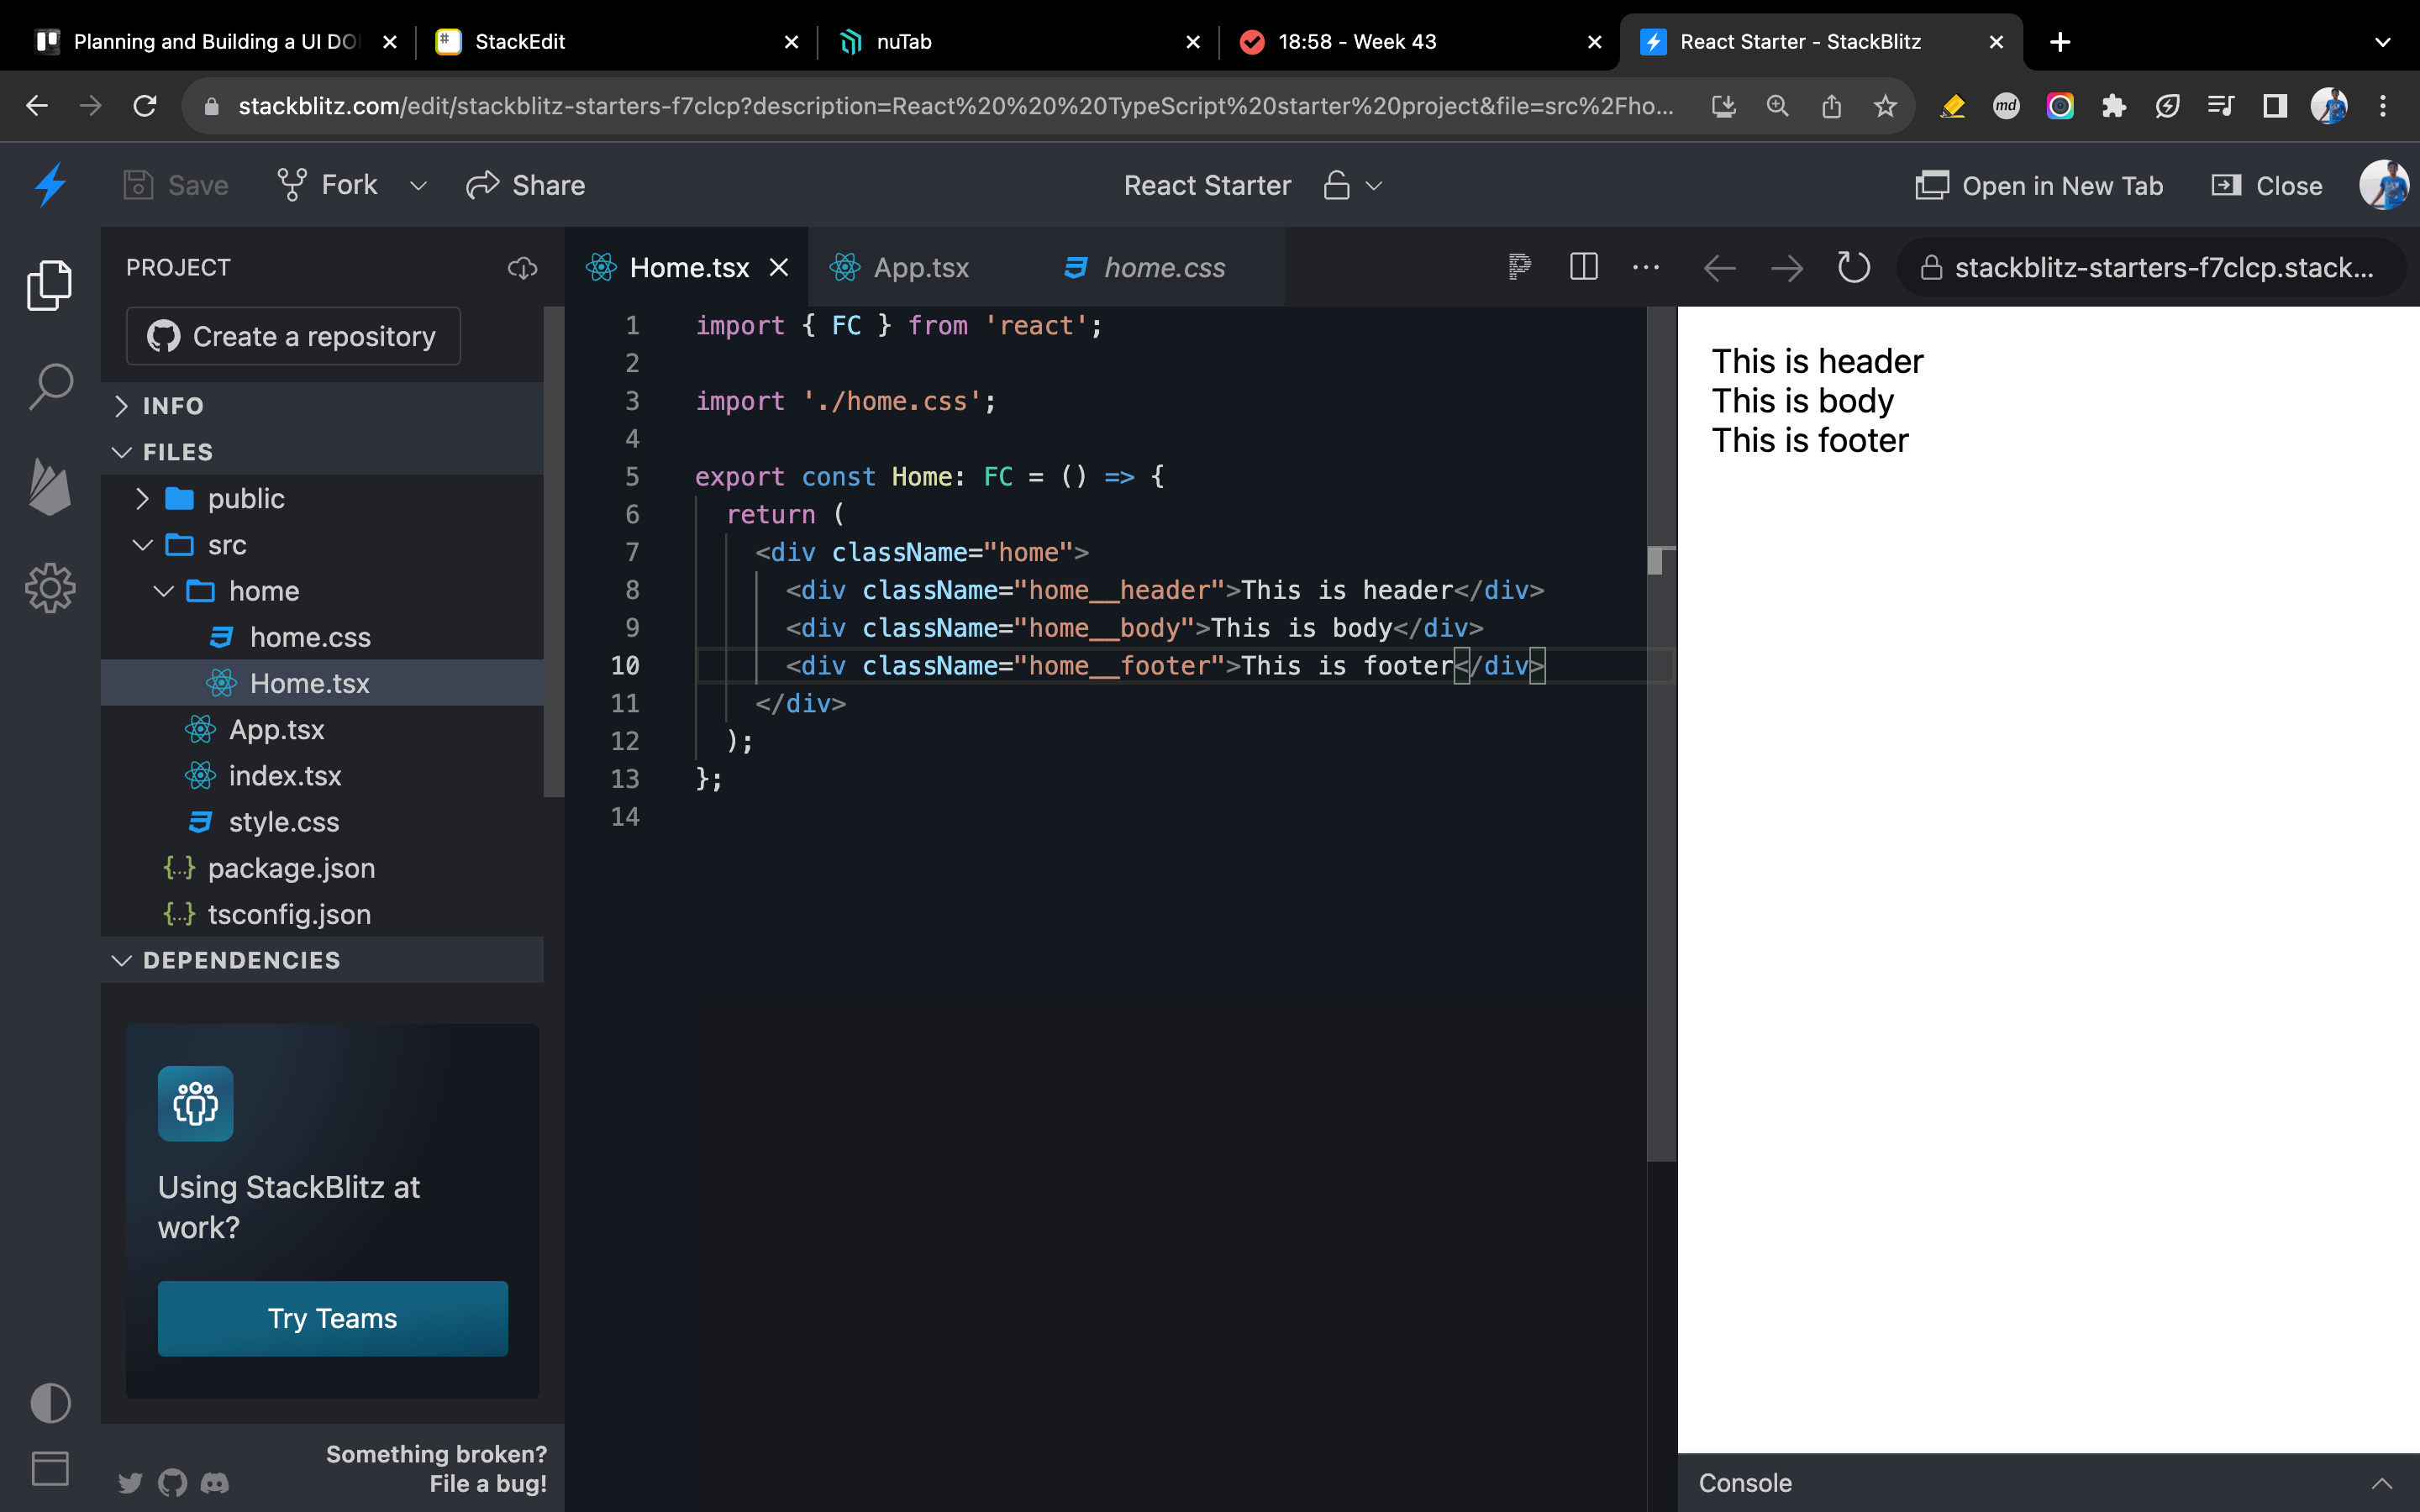
I created a simple dom with the header, body and footer. I usually like to display the component names as they go.
Now, iteration two.

Now that the DOM has taken shape, I’d have to plan more components. So, I returned to the board, drew boxes and wrote CSS classes for the header and footer.
Now that this is done, I added them to the HTML. And whoah. We have our DOM!
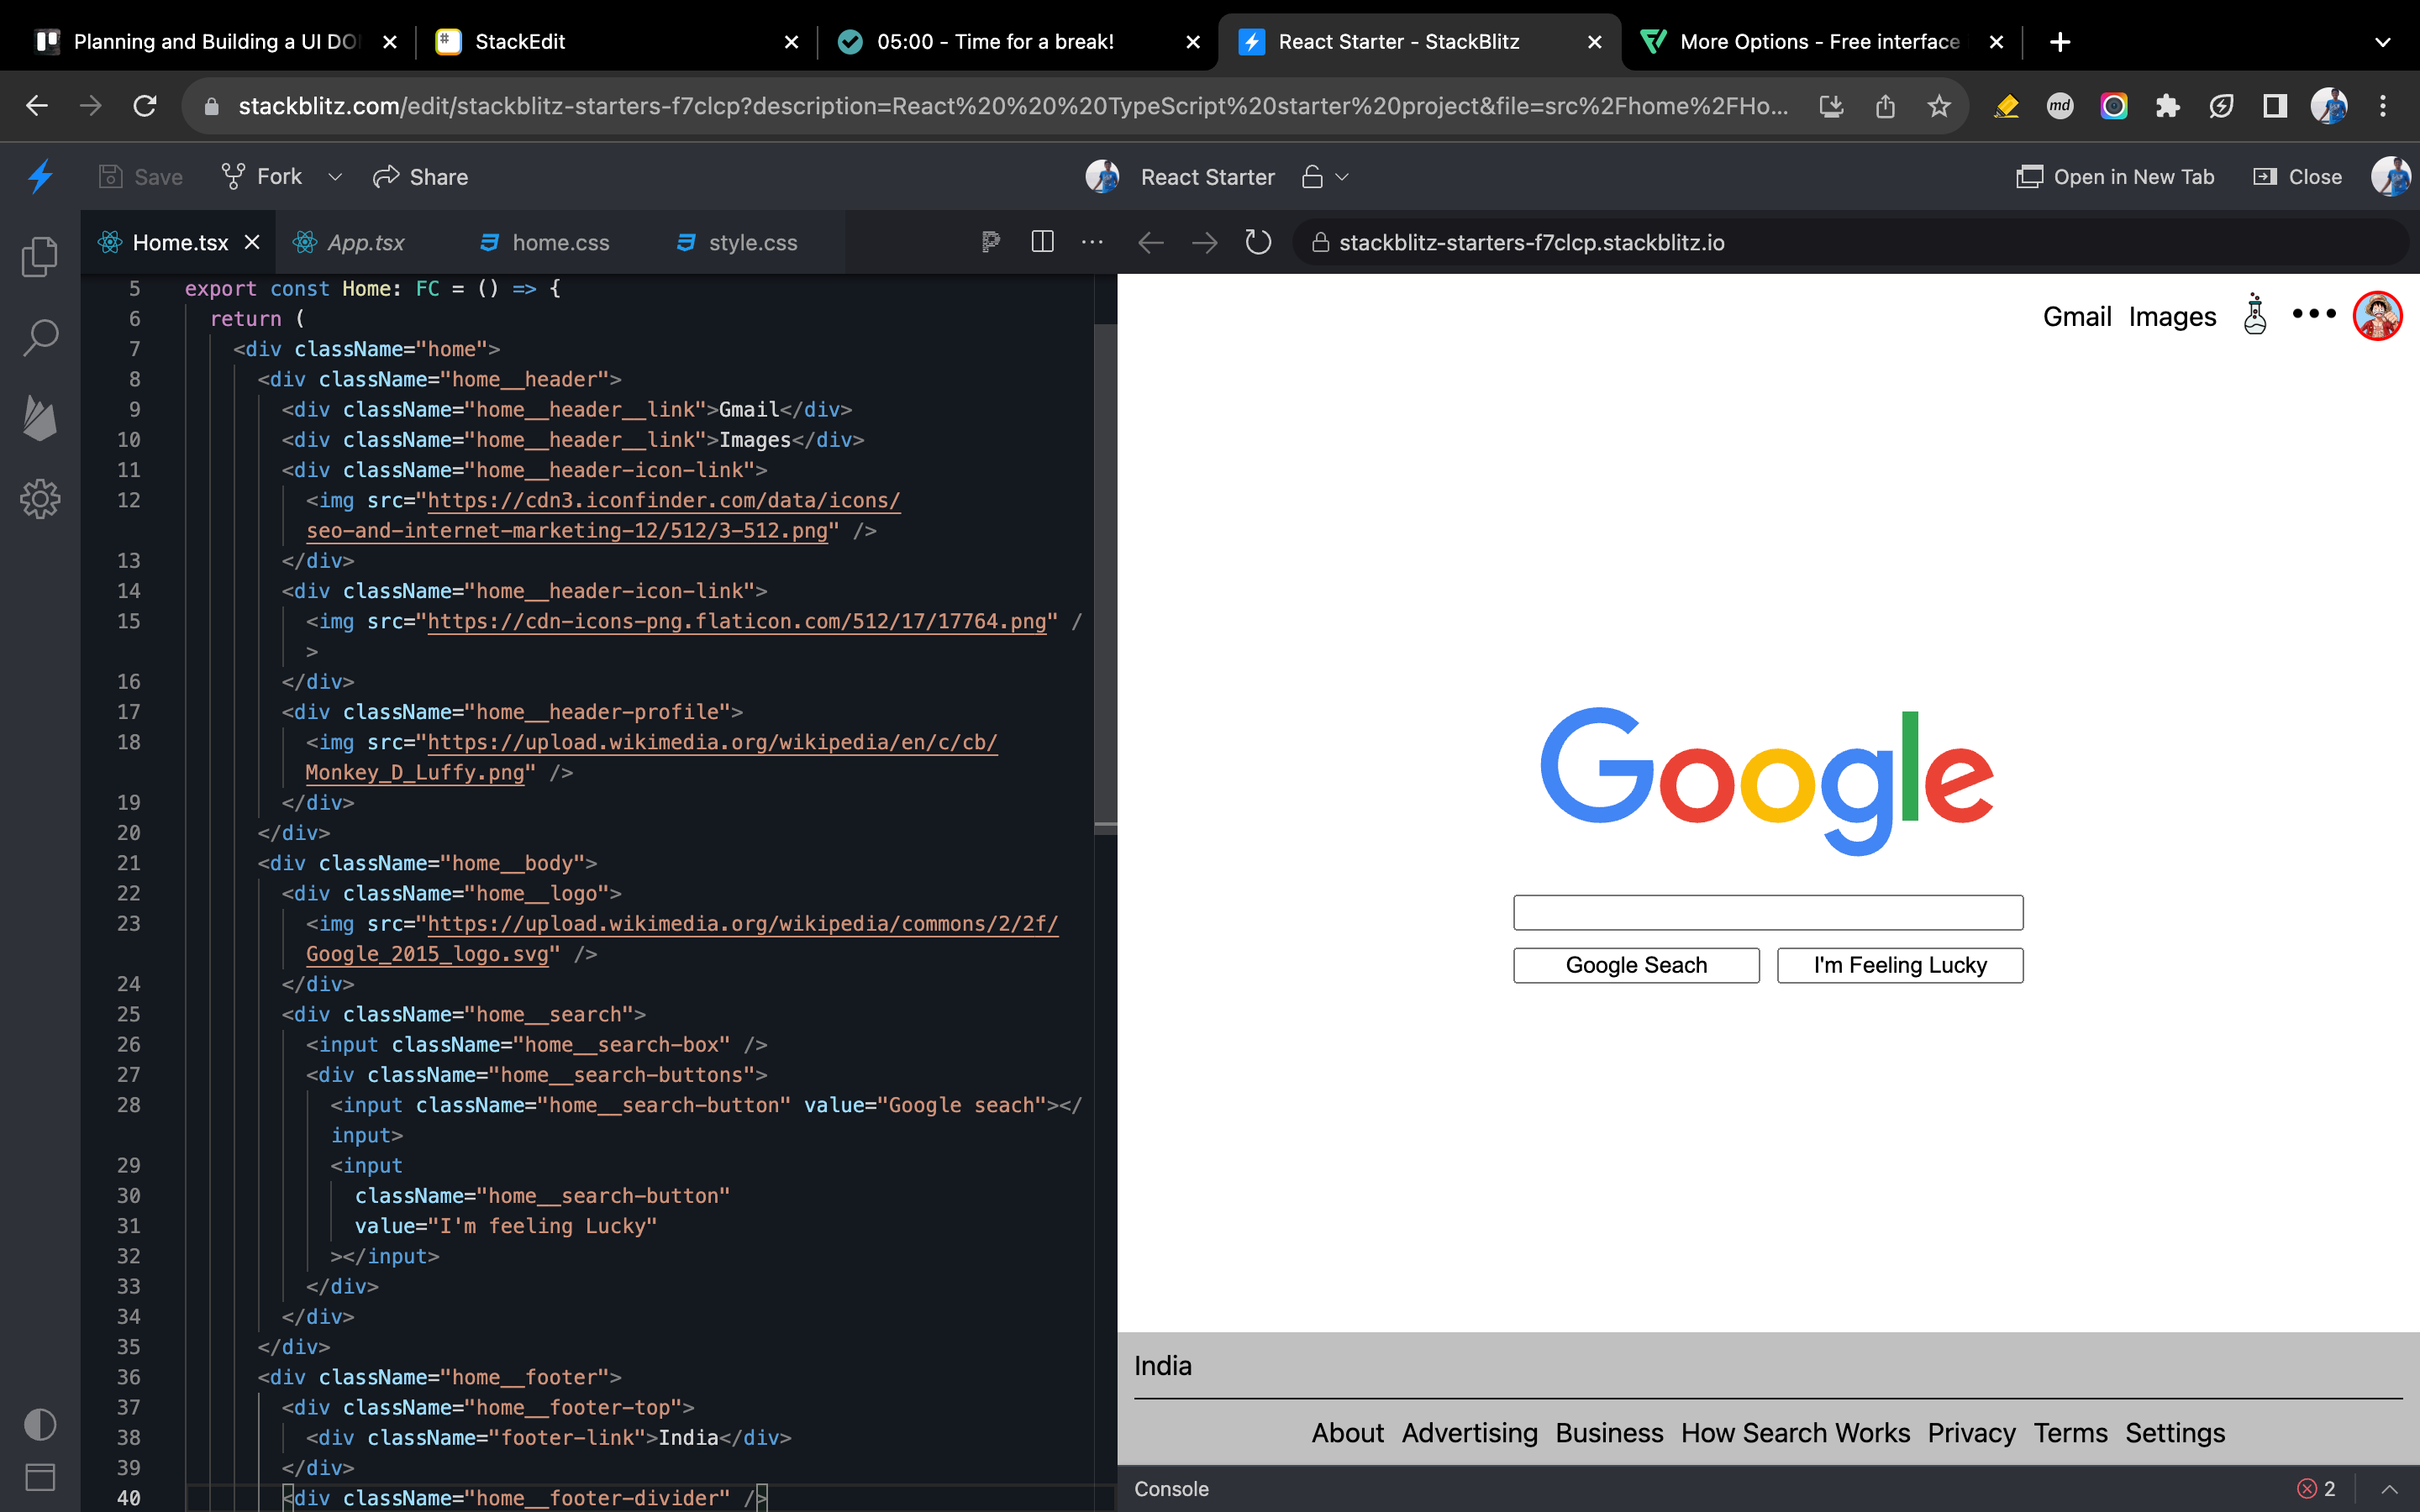
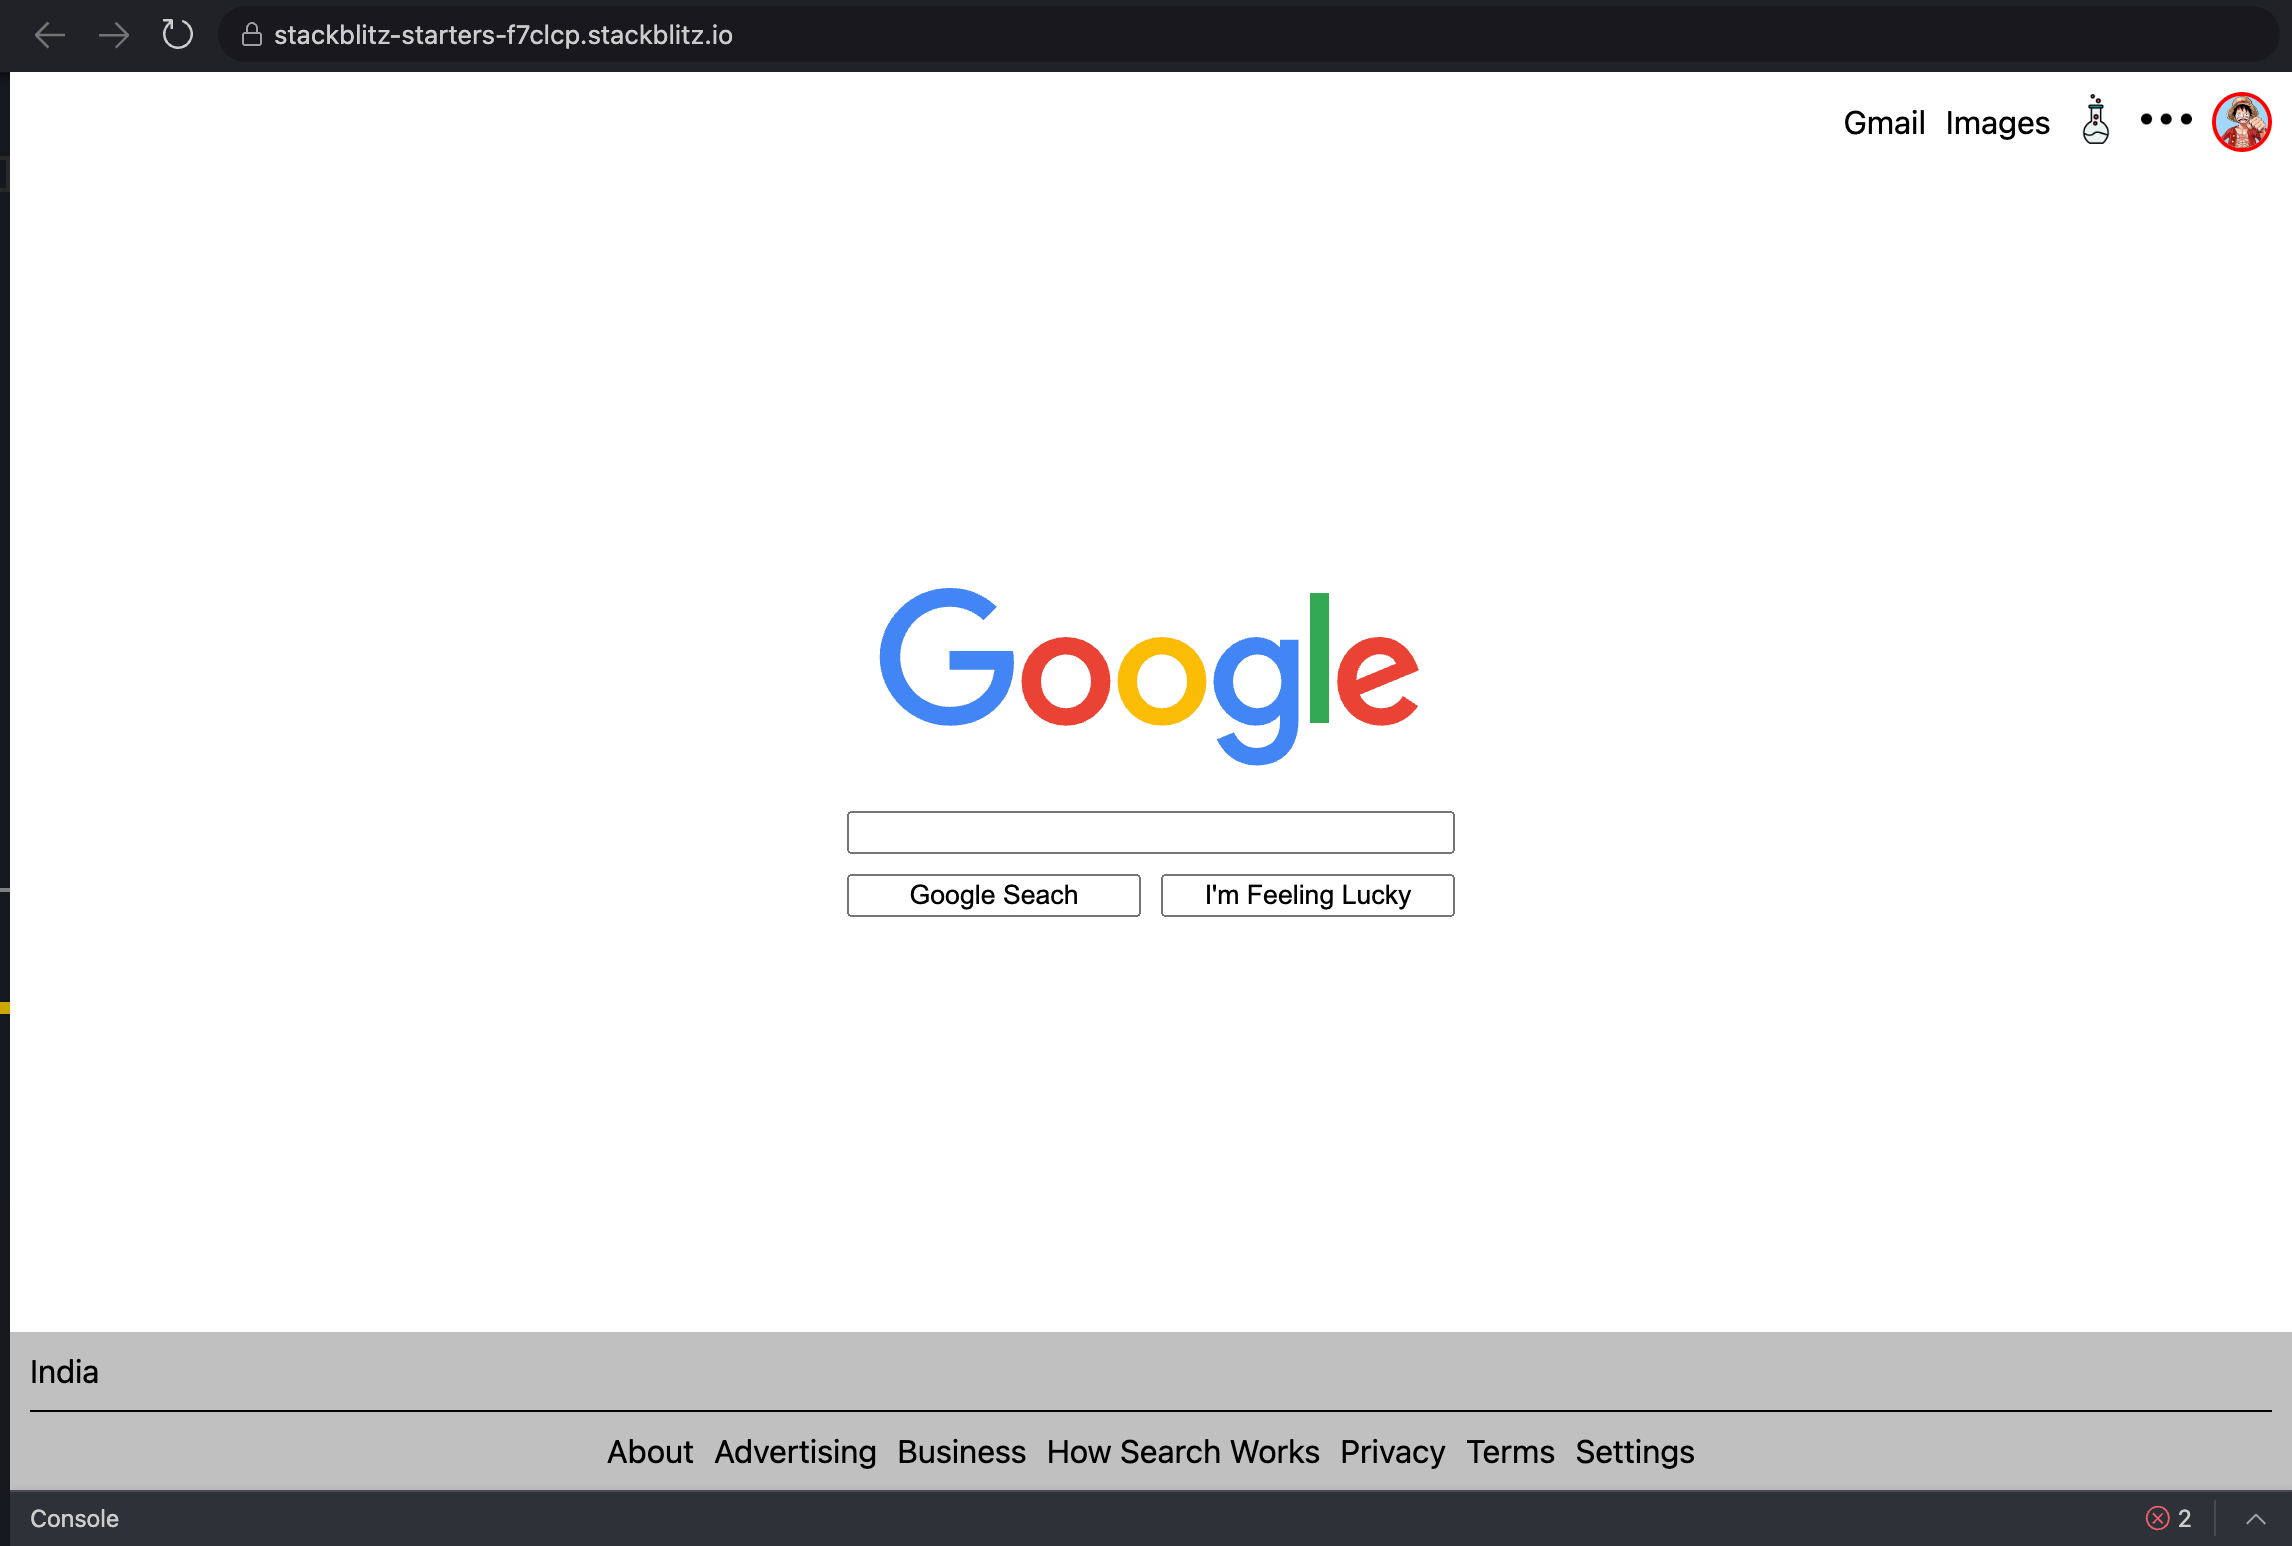
You can see the final code on StackBlitz
Next Step? 👉🏽 TDD
TDD for the front end is a big topic in itself. I’ll cover it in a different blog post.
Wrapping it up
Planning your DOM before coding is essential as it can significantly make the mental model of what to develop easier. Use simple tools to draw boxes and name CSS classes using a system like BEM.
Once that’s done, create a simple DOM structure without logic. Make sure your UI looks as it is in your design software.
The next step is to build a bug-free UI. We’ll use TDD for it.